
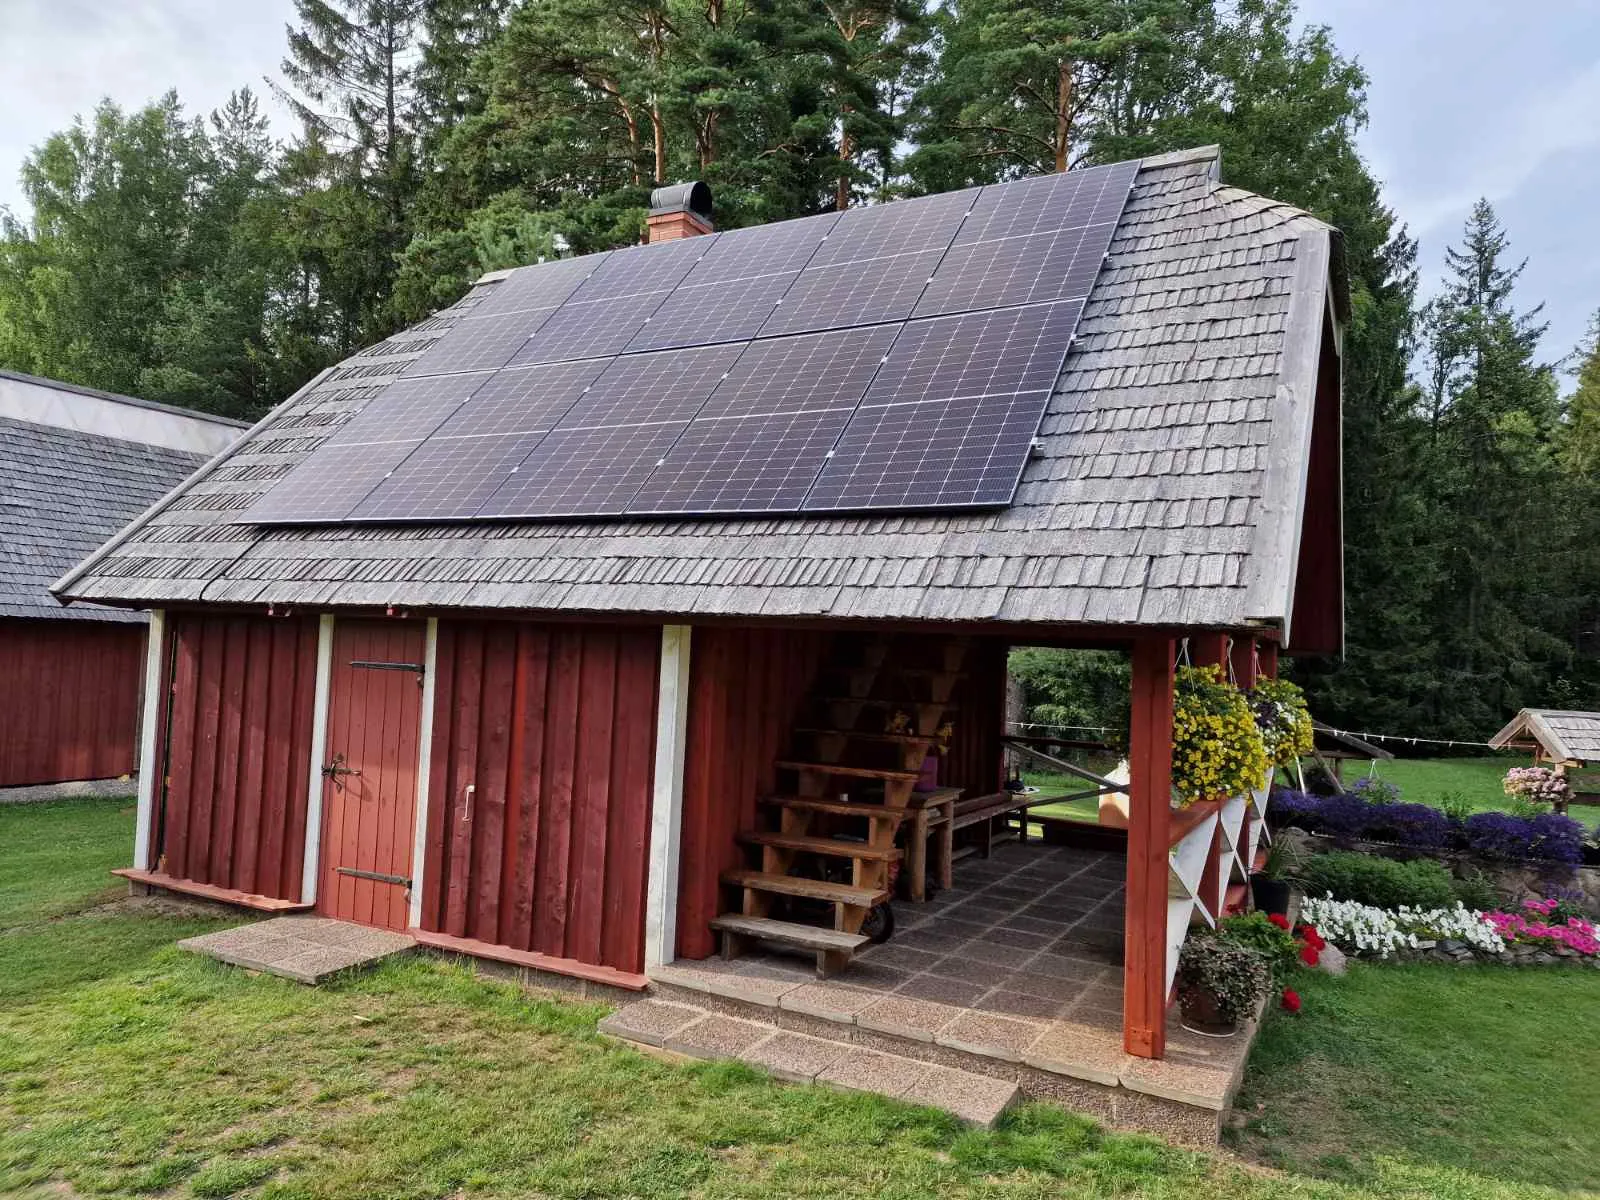
Thousands of companies around the world sell mounting hardware for different roof types. Finding the mounting solution that suits you best is the first hard problem to solve during installation.
Roof mounts are divided by roof type. There are so-called “universal” mounts that fit several roof types, but a mount designed for your specific roof type is always the better choice. It rules out later problems with leaks, damage to the roofing or underlay, and disputes with your insurer if an inspection shows that the installer’s chosen mounting solution was unsuitable.
Combine rooftop solar panels with an EV charger and charge your car with your own solar power.
How much does a rooftop solar system cost?
A 15 kW rooftop system costs €9,840 + VAT including installation and is completed in one working day. The price does not include a battery.
The price covers panels, inverter, mounts, cabling and electrical work. The mounting solution is chosen to match the roof type and is included in the price — we do not use universal mounts.
| Item | 15 kW rooftop system |
|---|---|
| Price including installation | €9,840 + VAT |
| Annual production | approx. 13,500 kWh |
| Installation time | 1 working day |
| Payback period | 6–7 years |
| Panel lifespan | over 25 years |
The price depends on the roof type, pitch, distance to the electrical panel, and whether the Elektrilevi grid connection capacity needs to be increased. We tell you all of this at the site visit.
Which roofs can take solar panels?
Almost any — pitched metal, flat, shingle, trapezoidal sheet and click-profile roofs. The exceptions are old fibre-cement (asbestos) sheets and 1990s concrete tiles, which need separate assessment.
| Roof type | Mounting solution | What to watch for |
|---|---|---|
| Pitched roof, sheet metal | Mount made for the roof type, separated with a gasket | The mount must not damage the roof; it must follow the roof line |
| Click profile “Klassik” | Mount matched to the profile cross-section | Profiles differ between manufacturers — a universal mount does not fit |
| Trapezoidal sheet | Rail fixed to the sheet metal | Risk of perforating the underlay unnoticed |
| Shingle roof | Special mount that respects the roofing material | Compatibility between mount and roofing |
| Flat roof | Wide-base mount + cushioning strip | Point load, drainage, load-bearing capacity |
| Old fibre-cement | Assessed separately | Roof often near end of life; roofing easily damaged |
| Concrete tile (1990s) | Assessed separately | Material condition varies |
How do you choose the right roof mount?
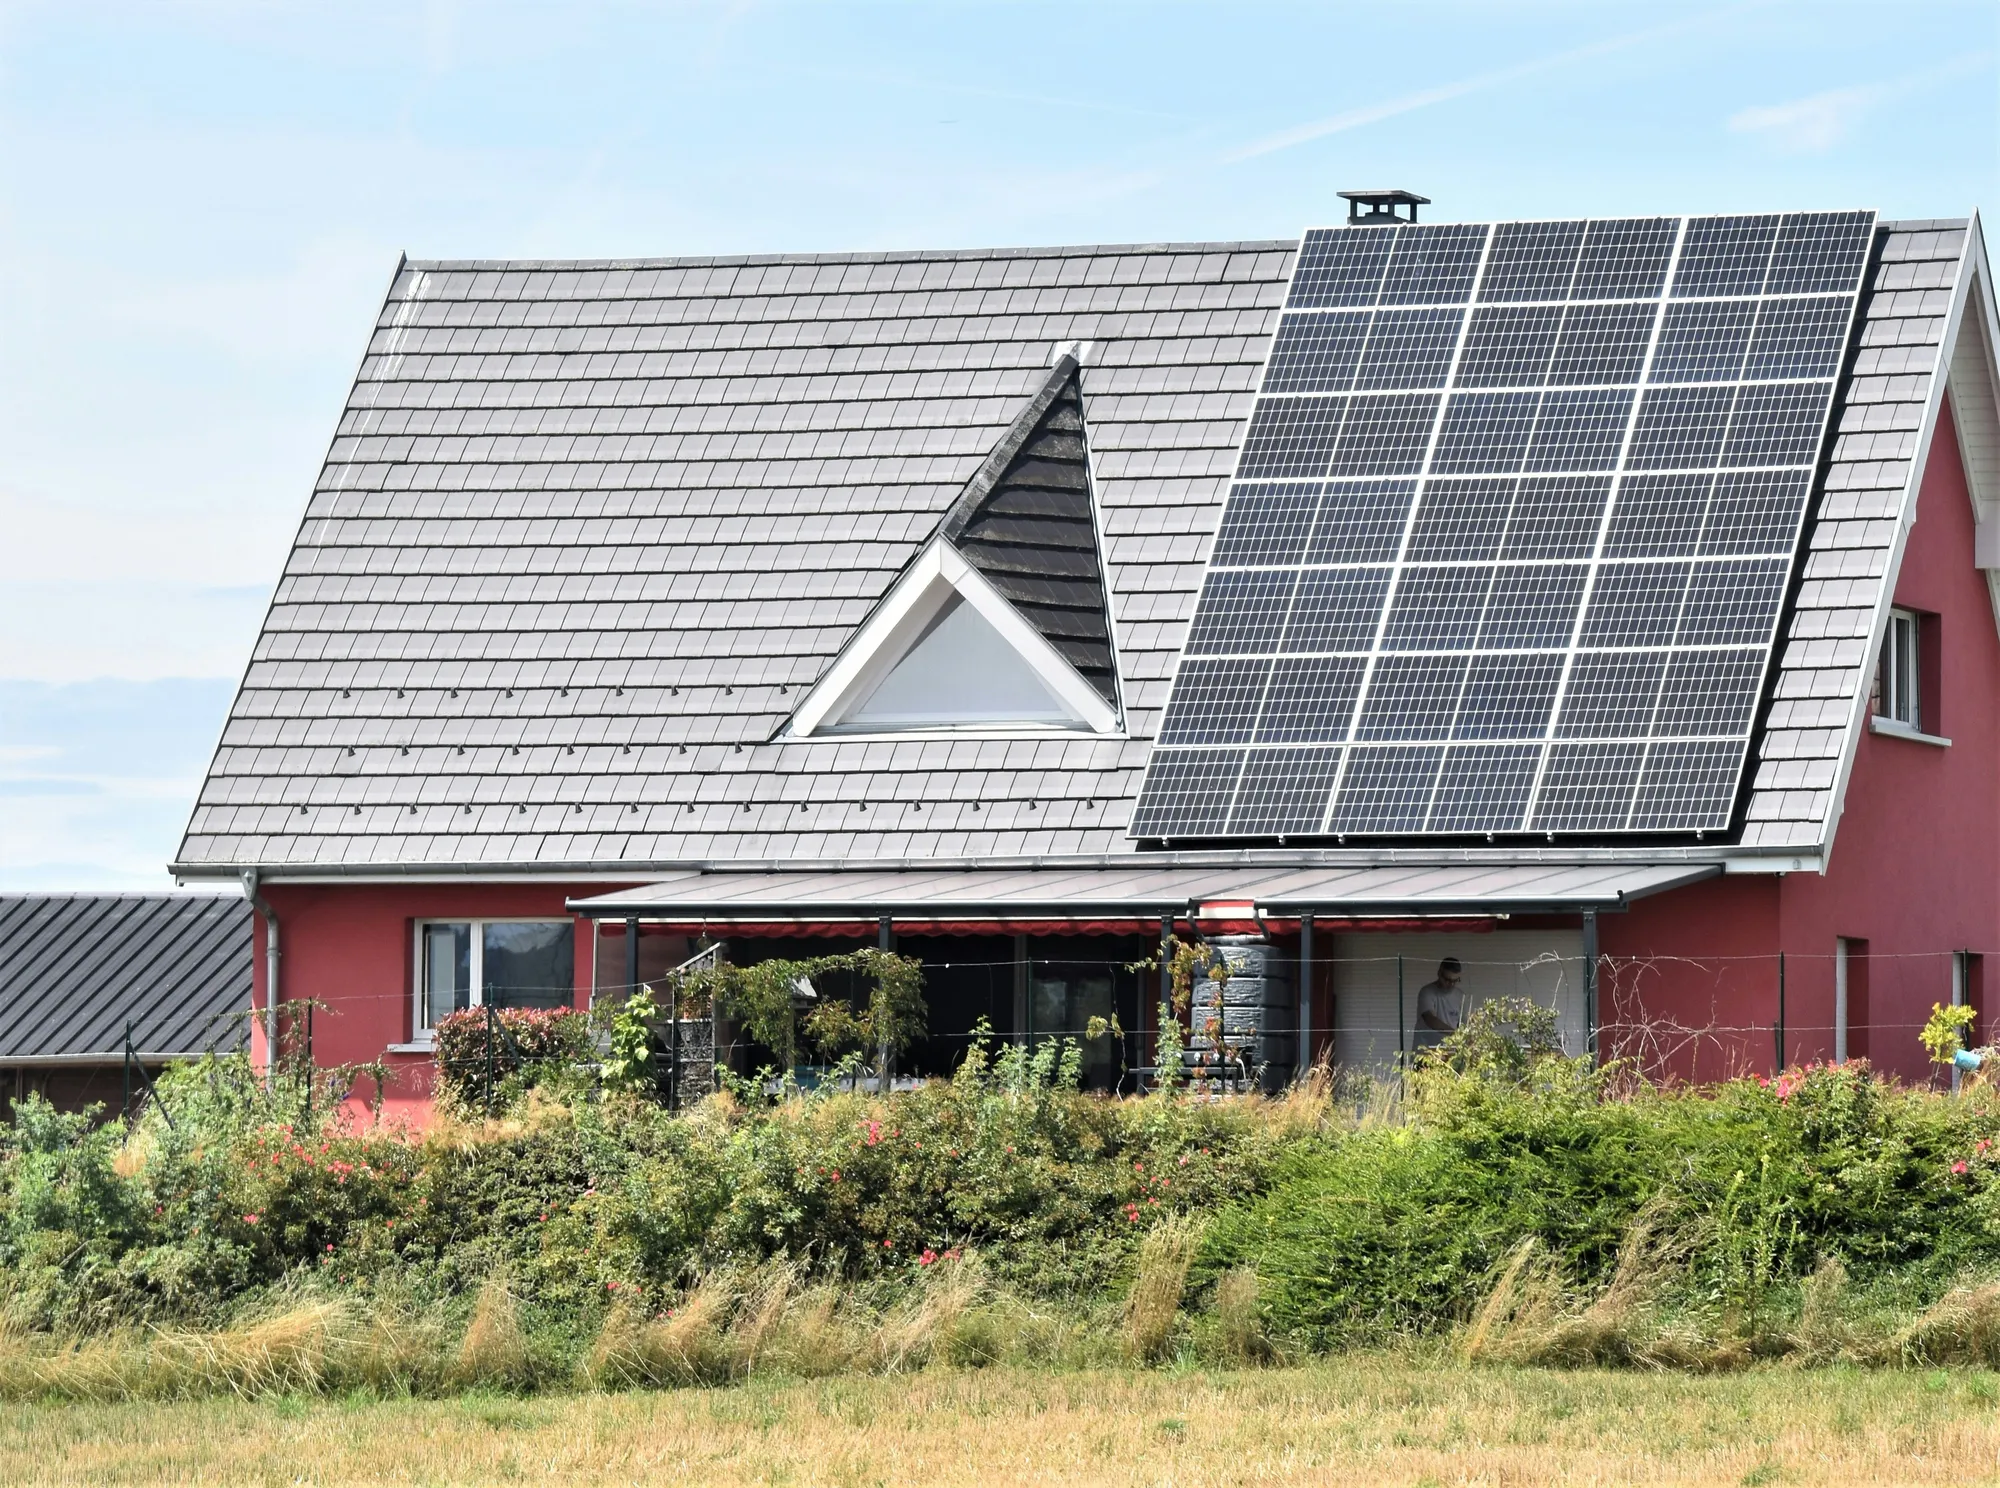
Pitched roofs are the most common roof type on private houses in Estonian counties. Installation mistakes can be avoided by following roofing standards and the manufacturers’ installation and maintenance instructions.
So how do you tell a suitable mounting solution from an unsuitable one?
Make sure the mount is separated from a sheet-metal roof with a gasket, for several reasons. Under the weight of snow the structure can move slightly, and that can wear off the protective coating, which in turn can lead to the roofing rusting. A panel mount must not break or otherwise damage the roof. It must follow the roof line.
That is why we chose as partners the mounting solutions developed and manufactured in Estonia by AS Toode and the special mounting parts for different roof types from Novotegra.
How much load do panels put on the roof?
Panels add up to 15 kg/m² of load. It is usually not the weight of the panels that decides, but the snow that collects behind them.
| Item | Value | Why it matters |
|---|---|---|
| Added panel load | up to 15 kg/m² | Fits within the safety margin on new houses |
| Recommended minimum pitch | 15° | With a lower pitch we use tilt-up brackets |
| Distance from snow-collection spots | 1.5–2.0 m | Avoids emergency snow clearing |
| Pitch below 15° | Smaller panels or a denser rail spacing | A large panel can bend under snow load |
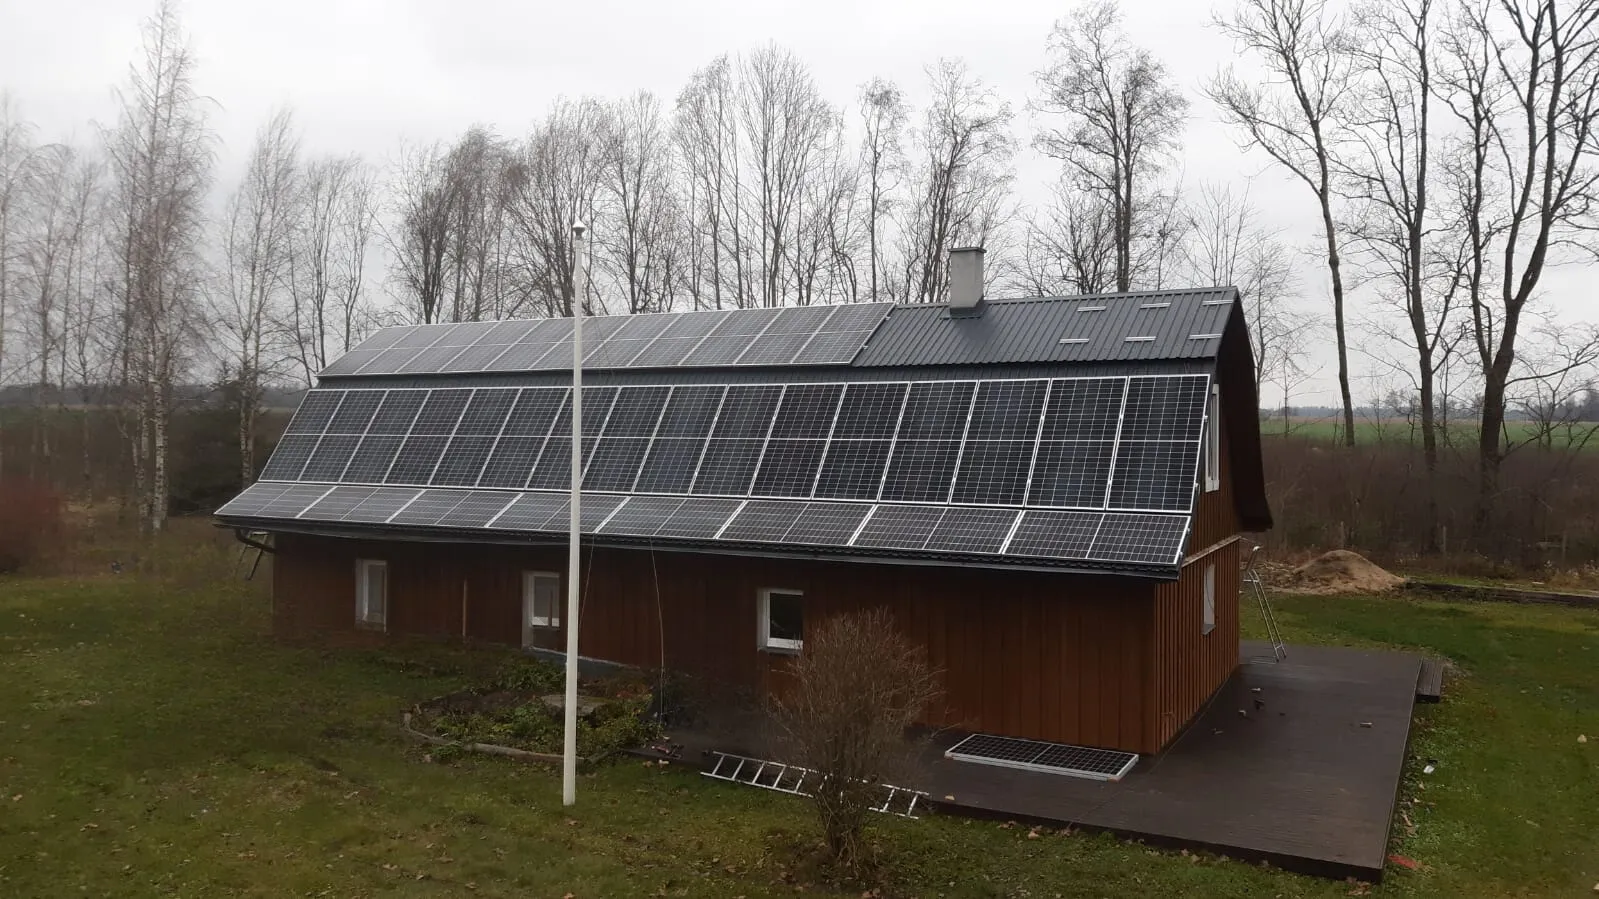
For panels on pitched roofs we can assume an added load of up to 15 kg/m². The weight of these products should therefore not be decisive for the load-bearing capacity of the substructure, but the potential extra snow load caused by the physical obstacle must be kept in mind. A walkway or a solar panel — not to mention a snow guard — creates snow accumulations on an originally open roof plane, where the final load in a thaw can multiply. New buildings and factory buildings are designed with sufficient safety margins for additional loads, but when renovating older buildings it is advisable to consult an expert. That advice of course applies to any work on any older roof, to ensure a trouble-free and functioning result.
At our latitude the recommended minimum pitch for solar panels is at least 15°. To maximise output at a lower pitch, so-called tilt-up brackets can be used. The weight of these metal products also needs attention. The loads above are called static; for roofs exposed to the wind (for example canopies, or surfaces open on one or two sides) it is worth looking into the dynamic load caused by wind as well. A larger solar park on a low-pitch roof in wind-exposed areas can create considerable pressure or uplift in windy weather, and the load can be alternating and pulsating. These loads, however, are no match for the uplift caused by pressure differences, which on metal roofs can in extreme cases lift the entire roof structure off. The latter matters, for example, when replacing the roofs of old apartment buildings, where fibre-cement sheets are replaced with profiled sheet metal, increasing uplift many times over. For the snow load on the panels themselves, at low pitches (under 15°) consider smaller panels or a tighter mounting-rail spacing. With larger panels, excessive snow load risks bending and damage.
Using different roof types for solar plants also requires different approaches and technical solutions. Pitched, flat and shingle roofs have different properties and technical challenges that must be taken into account during design and construction. On a pitched roof, for example, the panel layout may have to be adapted to the roof angles and orientation, while a flat roof may need special solutions to ensure effective ventilation and cooling of the panels. Shingle roofs may need a special mounting method to keep the panels stable and safe.
Why does a flat roof need a different solution?
On a flat roof a narrow mounting strip creates a point load on a roof that was designed to carry an even snow load. That is why we use a wide-base mount with a cushioning strip underneath.
Panels are installed on the roof so that they:
- do not endanger the building’s structures;
- do not harm the long-term function of the roof solution;
- do not obstruct rainwater drainage;
- allow safe movement on the roof for maintaining both the roof and the panels;
- do not make the roof structure a fire hazard.
The bigger problems concern solar parks on flat roofs, where the added loads should already be accounted for in the design phase and matter for the choice of materials.
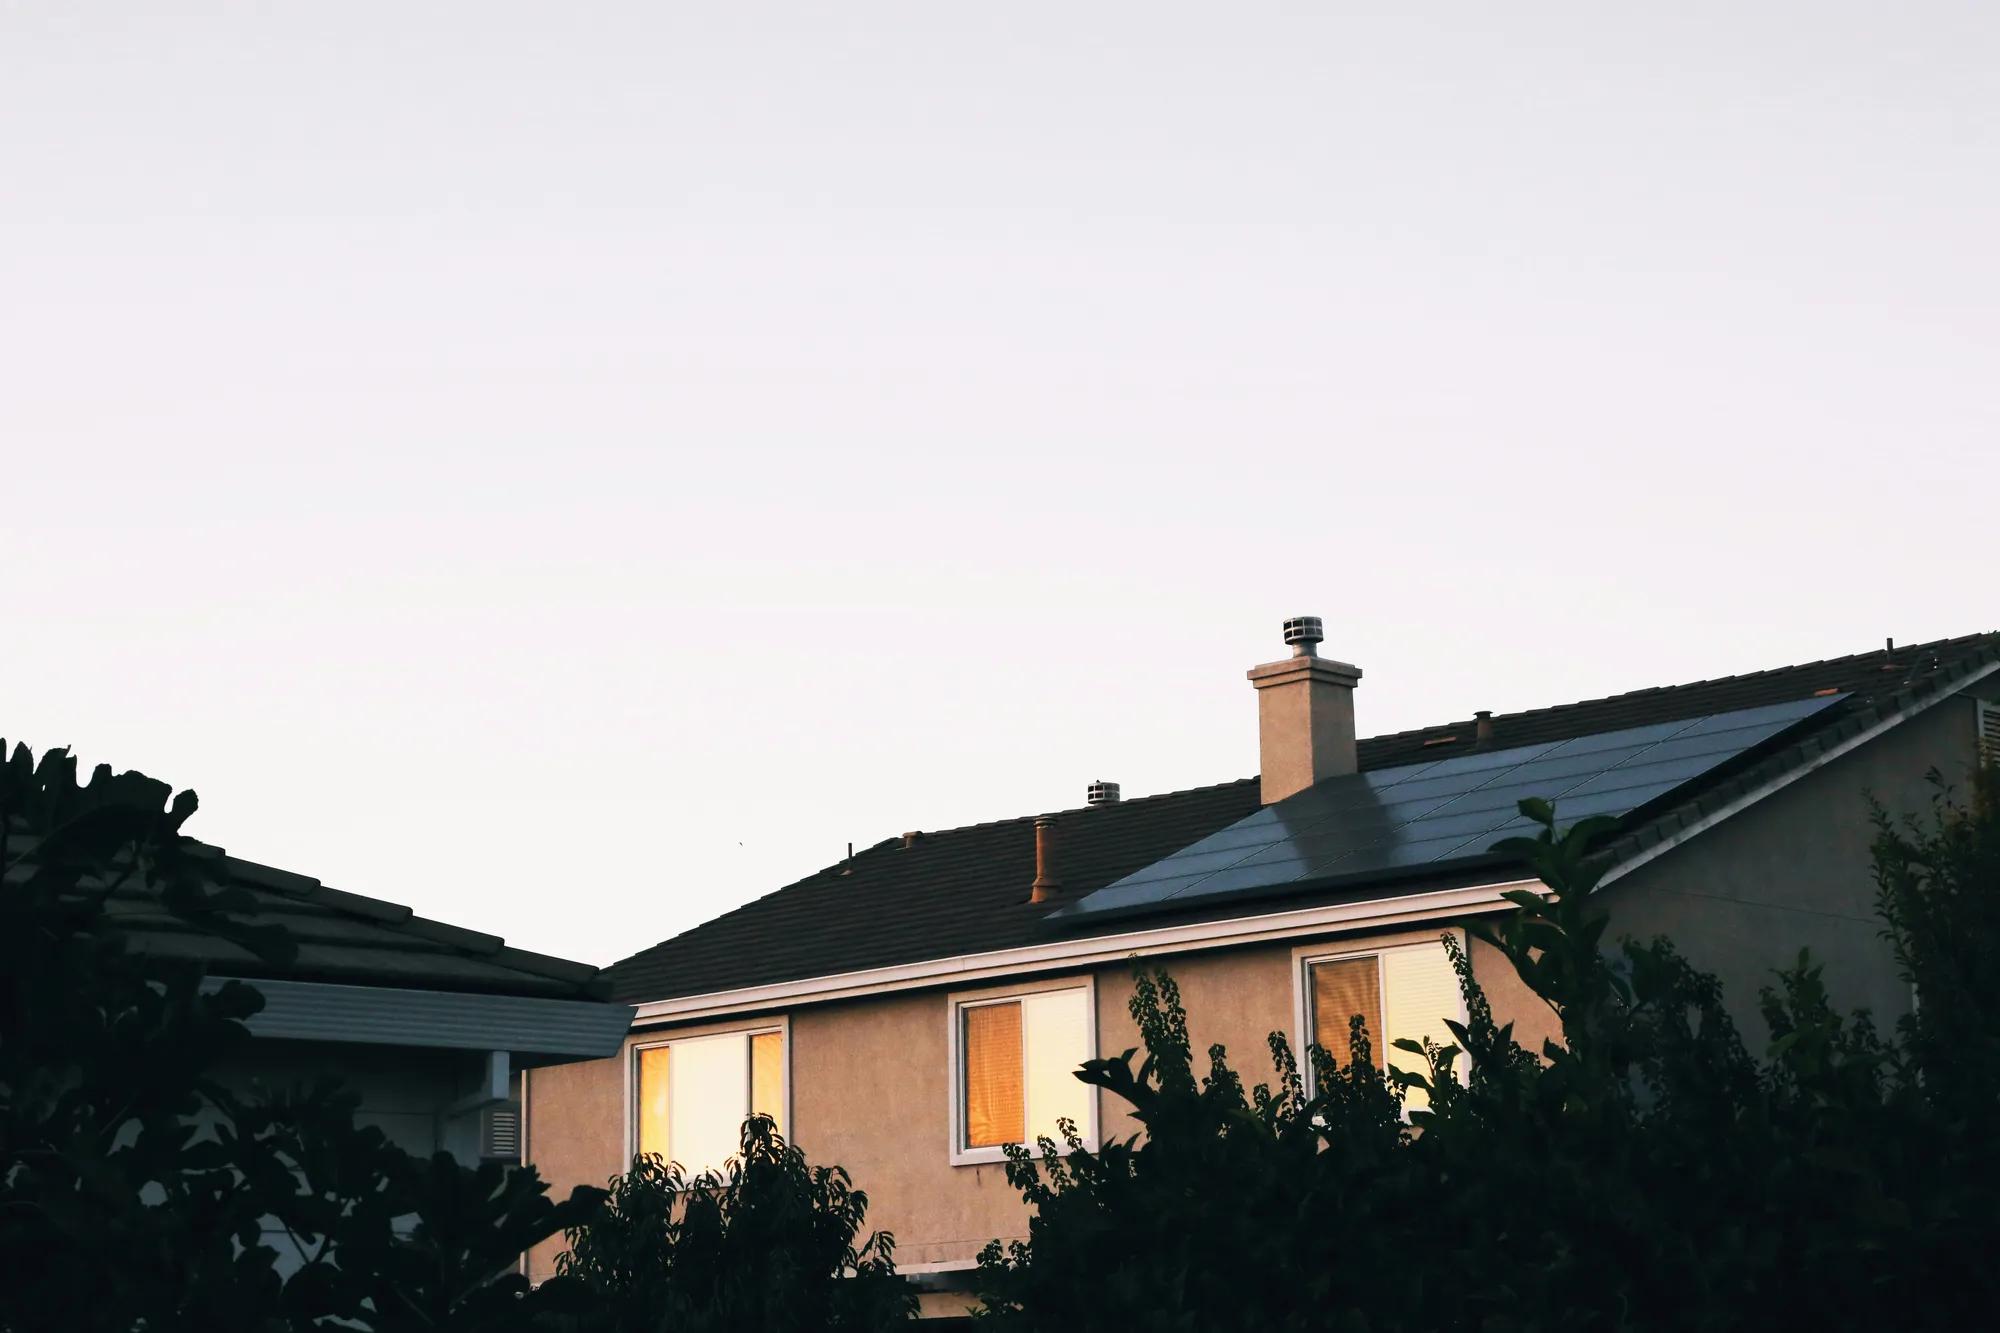
The problem is that on insulation and roofing materials designed to carry an even snow load, a panel mount is a narrow strip that creates a so-called point load. We put more load on one point, the roof gradually sinks, and that can cause tears in the roof and spots where snow or meltwater collects. To give the roof at least some relief, use the widest possible mounting part and a suitable cushioning strip under the mount. The strip can be SBS bitumen (Ruberoid), a UV-resistant rubber strip or another UV-resistant cushioning underlay. The roofing material should be laid around the mount and extend 3–4 cm beyond it on every side.
Follow a simple principle: panels must be installed on the roof so that they do not endanger the structure of the whole building or the long-term function of the roof, do not obstruct rainwater drainage, and allow safe movement on the roof for maintaining both the roof itself and the panels. Installing solar panels must not make the roof structure a fire hazard.
Where are the most installation mistakes made?
The most common mistake is damaging the underlay with screws and using a cable with too small a cross-section. Both show up only years later.
Four typical mistakes:
- Damaging the underlay. The screw misses the batten and perforates the underlay. Leaks appear later, and patching is time-consuming and expensive.
- Insufficient cable cross-section. A cheaper equivalent is used instead of what the manufacturer requires.
- Electrochemical corrosion. Galvanised steel screwed directly to the roof mount triggers a reaction that reduces the frame’s load-bearing capacity within a few years.
- Improvised combined mounts. A solution assembled from parts of different manufacturers is untested and cannot be maintained properly.
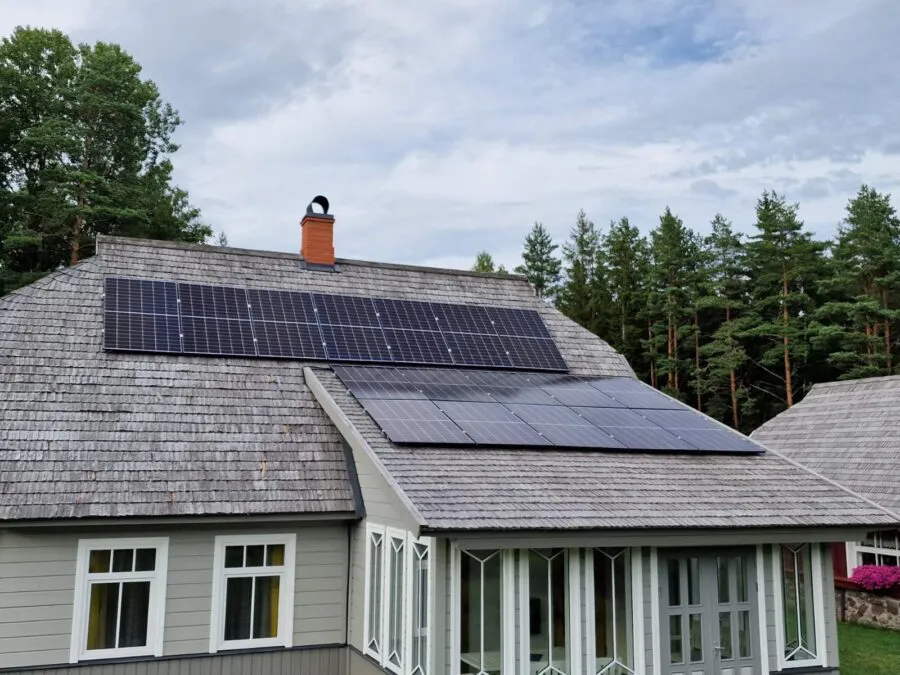
The main problems with installing solar panels on pitched roofs are related to fastening them correctly. There are countless panel manufacturers in the world, but mounting solutions for all roof coverings and structures are scarce. Regional differences in roofing materials, experience and tradition also come into play. For example, the click-system steel roof profile “Klassik” is known only in the Nordic and Baltic countries, and less so in Poland. For a long time there were therefore no working mounting solutions for this roof covering. The “Klassik” profiles of different manufacturers alone can differ enough in their click systems to require mounting solutions that account for the specific profile cross-section dimensions and shape.
Much like safety-product fixings, tested mounting solutions matter for solar panels. We meet home-made inventions combined from all sorts of products far too often. A rooftop system installed with mounts from different manufacturers does not look very safe, and it is hard to guarantee regular maintenance of the system as a whole.
From the point of view of how panel and safety-product mounts perform, we can generalise: by following the installation instructions of the chosen roofing material and the requirements for the underlay (dimensions of rafters, battens, spacer strips and so on), these products can always be installed successfully on a roof built that way. Problematic cases are older buildings, or ones where, to save money, the battens are spaced wider than required or timber of a smaller cross-section was used. The roofing itself is generally not an obstacle, but with older fibre-cement sheets, be careful with load-creating products and with making openings through the roofing. Asbestos-containing fibre-cement made in the Soviet period may still hold its shape and look fine after regular maintenance, but despite a name promising eternity, the lifespan of such roofs is mostly at its end and the roofing is easily damaged when extra products are installed. Be careful also with some concrete roof tiles made in the 1990s.
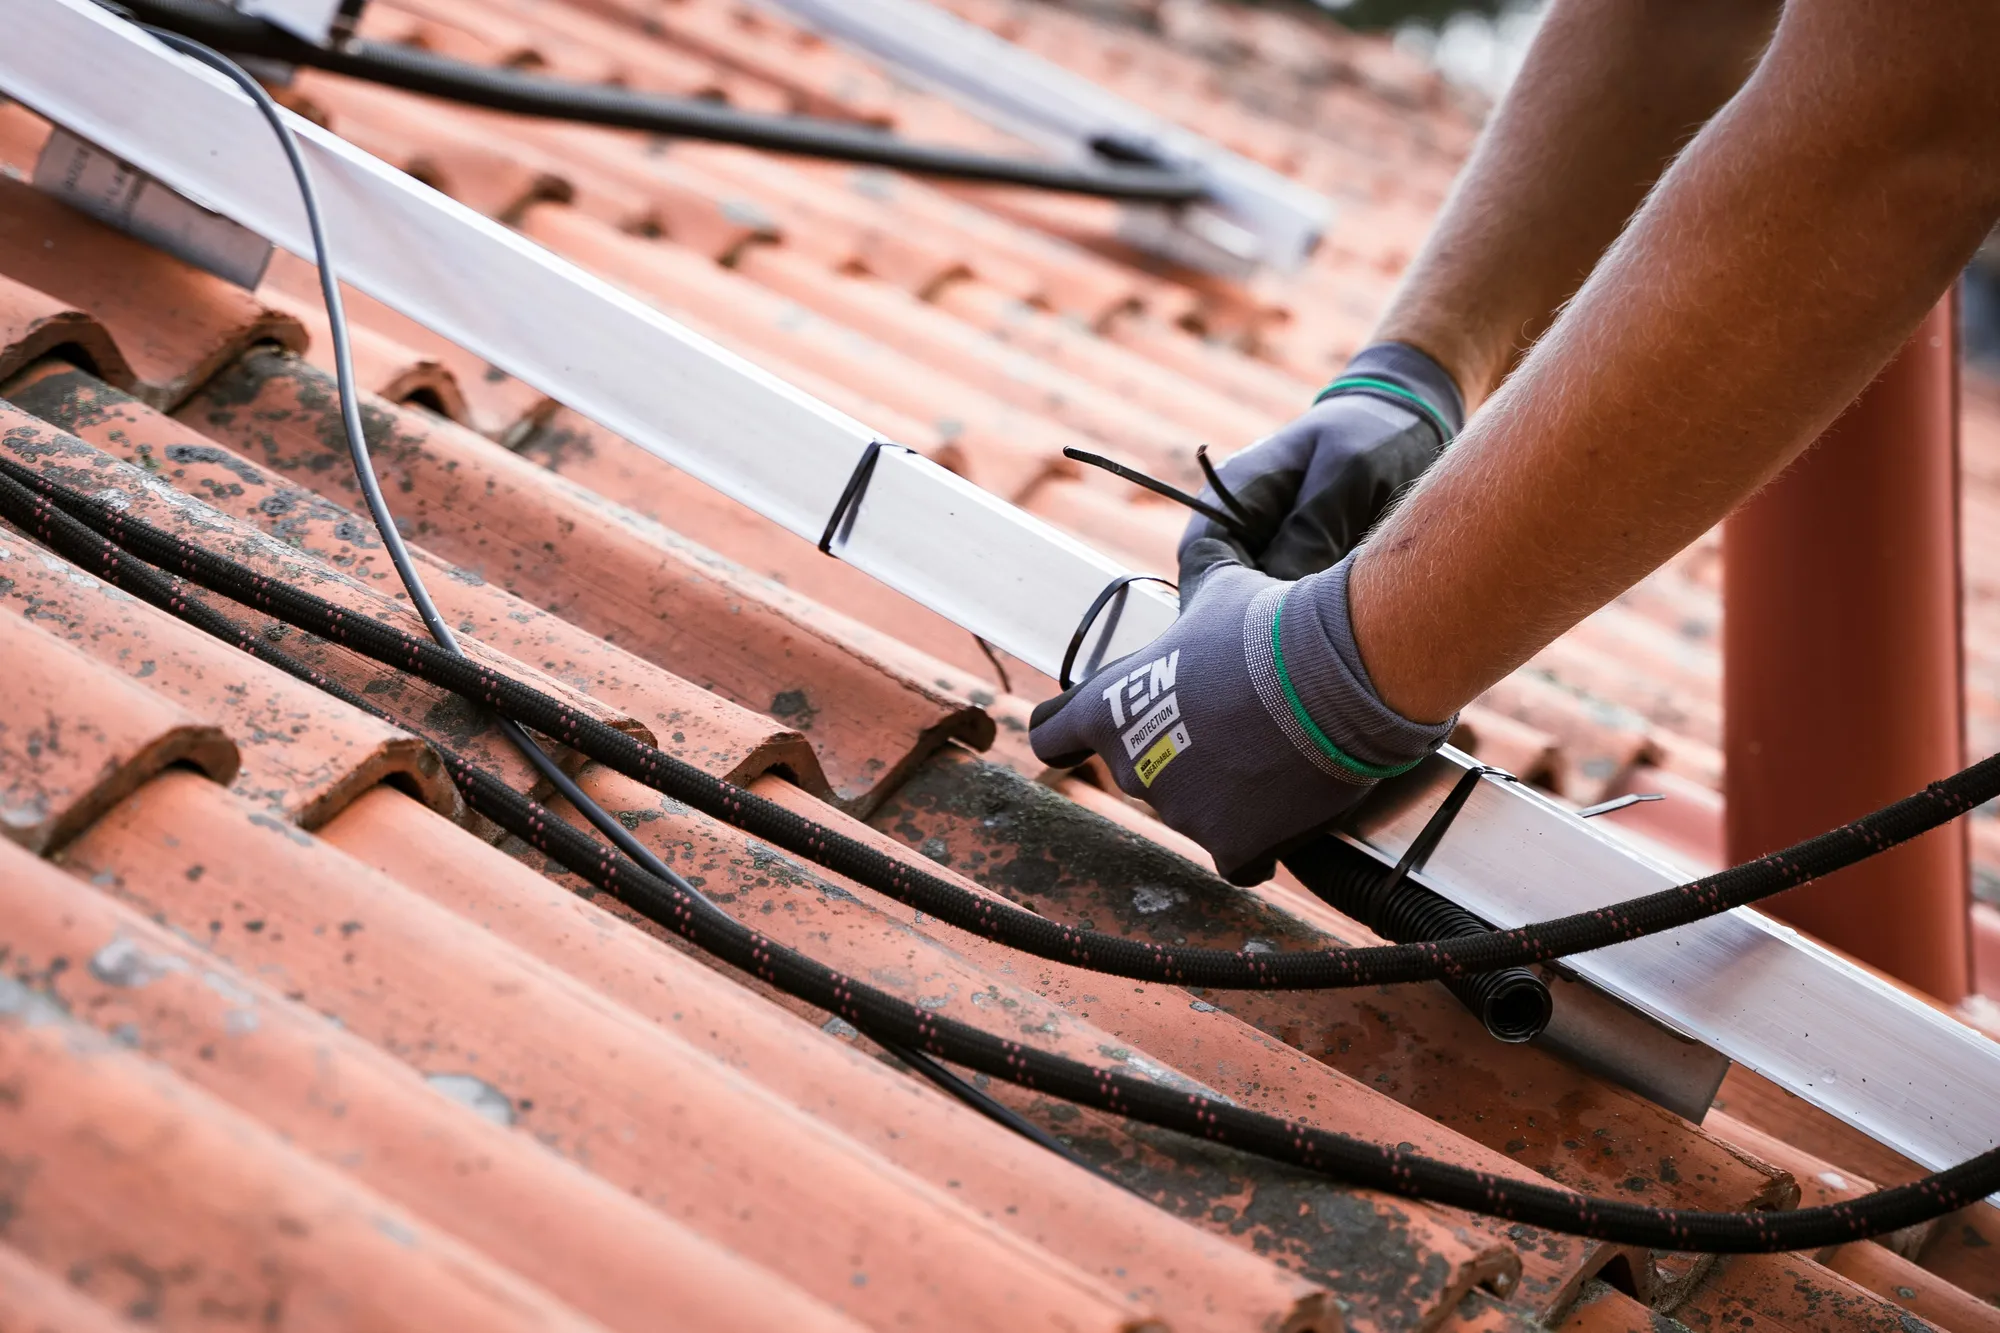
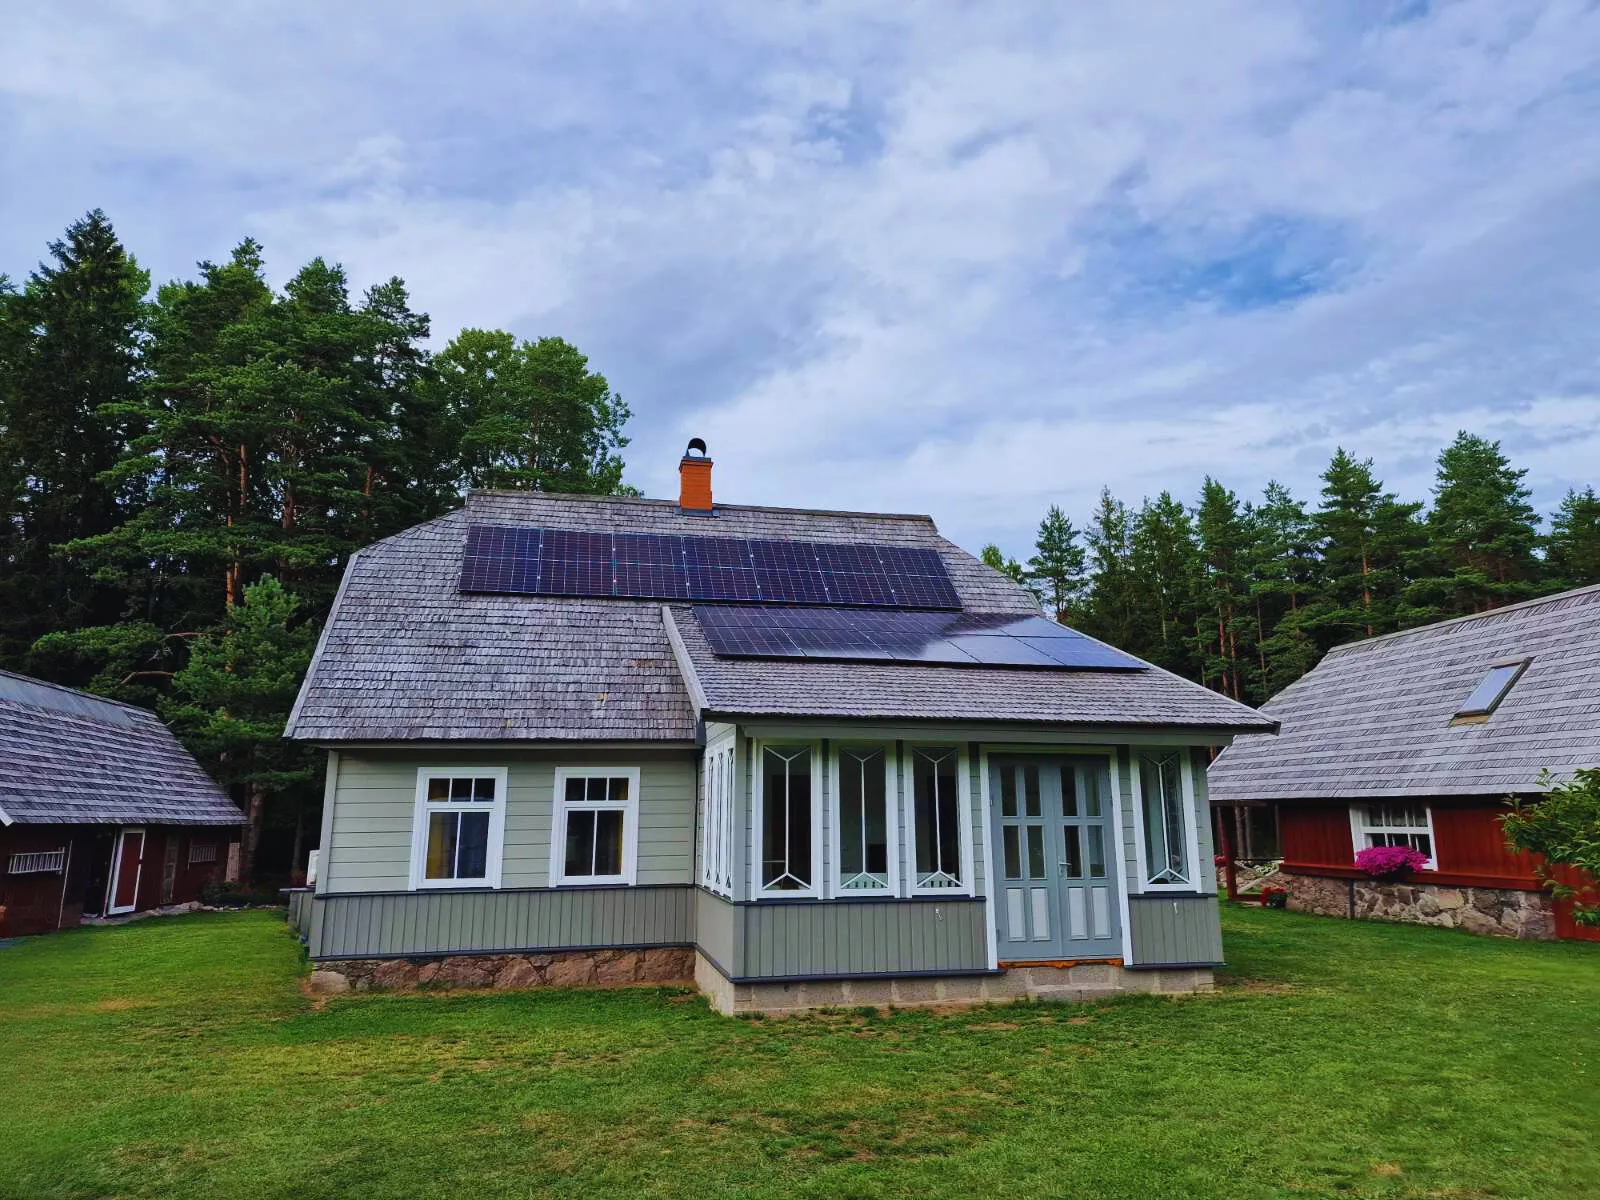
When choosing the underlay we recommend looking at its fire-resistance class, so that when solar panels are installed later, the fire resistance of the whole roof structure is not in doubt. The ventilation gap between the panels and the roofing belongs to the same area. It looks nice to install panels as close as possible to the plane of the roofing, but you must follow the panel manufacturer’s requirements. Unfortunately there are several unsuitable and uncertified products on the market that, besides breaking fire-safety requirements, put the panels and cabling at risk of overheating during a longer hot spell.
When sizing the cabling, follow the manufacturer’s requirements and product recommendations rather than looking for cheaper equivalents. The biggest mistakes in installing solar panels can be made in the electrical works phase — above all by using cables with insufficient cross-section, installing in damp conditions, or combining materials that are unsuitable from a corrosion point of view. If galvanised steel fasteners are screwed directly to the roof mount, a chemical reaction occurs, and within months or years electrochemical corrosion degrades the load-bearing capacity of the frame. That is why roof fixings are always powder-coated, lacquered or made of materials that avoid electrochemical corrosion, and are fitted with suitable gaskets.
Although it seems attractive to use the whole south-facing or sufficiently pitched part of the roof for solar production, some inevitabilities that follow from laws of nature and common sense should be respected. Avoid placing solar panels in parts of the roof where snow is more likely to accumulate: valleys, but also the surroundings of dormers, the tops of roof windows, chimneys and other penetrations in the middle of the roof, and parapet edges. Ideally, panel installation should start 1.5–2.0 metres away from possible snow-collection spots. Following this advice helps avoid panicked maintenance in exceptional snow conditions.
The main mistakes when fastening panels are related to screws going through the roofing and missing the batten, damaging the underlay. For some products the end fixings must be fastened into the rafter, which is often impossible with the roofing already installed. With panel rails screwed only to the sheet metal (for example trapezoidal profiles), the underlay can also be perforated unintentionally, and this cannot be noticed after installation — the problem shows up later as leaks. Damaging the underlay is one of the most common mistakes in roofing work, and patching the underlay is time-consuming, complex and expensive. From the solar panels’ point of view, correct routing of any cabling through the underlay is also crucial. If possible, the cabling should enter the attic as close to the ridge as possible, ideally right under the ridge flashing or ridge tile, and special penetrations should be preferred. Without them, make sure that with quality tapes the underlay penetration is done so that no rainwater or condensation collects in the area.
Where are panels not installed on a roof?
Panels are kept 1.5–2.0 m away from places where snow collects — valleys, dormers, roof windows, chimneys and parapets.
We avoid installing panels:
- in roof valleys and their immediate vicinity;
- around dormers;
- above roof windows;
- next to chimneys and penetrations in the middle of the roof;
- in areas bordering parapets.
Although it is tempting to cover the whole south-facing roof surface, these spots are worth leaving free. This prevents emergency snow clearing and extends the life of the whole system.
How does a rooftop installation work?
A 15 kW rooftop system is completed in one working day. Before that come the site visit, the quote and the permit process.
- We inspect the roof We assess roof type, pitch, load-bearing capacity and condition, and choose the right mounting solution.
- We prepare a quote Capacity, production forecast and price — transparent, with no later extras.
- We sort out permits We deal with Elektrilevi and the local municipality for you.
- We install in one day Mounts, panels, inverter, fuses and cabling according to current standards.
- We hand over We connect to the grid, set up monitoring, and issue the measurement protocol and warranty.
Frequently asked questions
Can solar panels be installed on an existing roof?
Yes, on most roof types. Before installation we assess the roof’s load-bearing capacity, pitch and condition. If the roof needs replacing in the coming years, we recommend doing the roof work and the panel installation together, so the panels do not have to be removed later.
Do panels damage the roof or void the warranty?
No, provided the mounting solution is chosen for the roof type and the installation follows the manufacturer’s instructions. On a sheet-metal roof the mount must be separated from the roof with a gasket, so that movement of the structure does not rub off the protective coating. The roof warranty is preserved.
How much load do panels put on the roof?
The added load from panels is up to 15 kg/m². For new houses this fits within the design safety margin. For older buildings we check the load-bearing capacity separately — what usually decides is the snow collecting behind the panels, not the weight of the panels themselves.
What is the minimum roof pitch?
At least 15° is recommended. At a lower pitch we use tilt-up brackets so that production does not drop. Below 15°, it is also worth considering smaller panels or a denser rail spacing, because a large panel can bend under snow load.
Can panels be installed on a flat roof?
Yes, but it needs a different solution. A narrow mounting strip creates a point load on a roof designed to carry an even snow load. We use a wide-base mounting part with a UV-resistant cushioning strip underneath that extends 3–4 cm beyond the mount on all sides.
Can panels be installed on an old fibre-cement roof?
It needs separate assessment. Fibre-cement from the Soviet period can look good, but most such roofs are near the end of their life and the roofing is easily damaged when extra products are installed. We inspect the roof and tell you honestly whether it is worthwhile.
How long does installation take?
A 15 kW rooftop system is completed in one working day. The whole process from the first call to the grid connection takes longer because the Elektrilevi procedure adds its own time — the installation work itself is still one day.
Which is better, rooftop or ground-mounted?
A rooftop system suits you if the roof surface is free and south-facing — it needs no separate land and costs €9,840 + VAT at 15 kW. A ground-mounted system usually gives higher output because the panels can be set at the optimal angle, but it needs a plot of land and costs €10,940 + VAT.